

I only plan to use this for decoration purposes so I used super glue to attach the top dish to the bottom stand. I had super glue on hand but you could use epoxy as well. Here is the finished product that came in at a grand total of $5.70!


 The last 2 pieces are in our master bath (although they used to be in our dining room of our old apartment). I made this painting a few summers ago. I bought the canvas and spray painted it brown. After it fully dried, I dipped the top edges of a bucket and a smaller cup in paint and put them randomly down on the canvas. It turned out pretty well. I like that the circles aren't perfect and there are a few paint splatters.
The last piece of DIY art I will show you cost less than $1. I bought this chunky frame at Goodwill and spray painted it brown. I went to Menards and picked up a few paint chips (for free!) that matched the other art in the room. Then I just cut up the paint chips and arranged them on the cardboard back of the frame and taped them down....cheap, simple and cute!
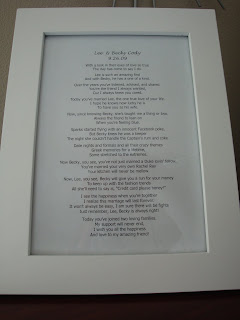
 Have you guys done any DIY art recently? Do you have any fun personalized pieces in your home? I want to hear your ideas!
 There are many DIY headboard instructions out there. Mine are a combination of trial and error and reading many other headboard instructions. There are a few things I want to point out. We used a foam mattress pad that we bought at Wal-Mart. We found this to be MUCH cheaper than buying foam at a quilt shop. Also, we used a white flat bed sheet from Wal-Mart instead of fabric. I wanted a white headboard so this again was a MUCH cheaper option than buying white fabric. Make sure you iron the sheet before making the headboard. We used a heavy duty picture hanger to hang the headboard to the wall. I hope you find these instructions helpful. Happy headboard making!
 4. Spray one side of the board with the spray glue and place the foam on top. Trim off any extra so the sides are even with the board. Note: If you are using a mattress pad like we did, make sure the flat side is up. Do not glue the flat side to the board.
 6. Let it sit for 10 minutes to make sure everything stays glued down. Flip it over so the batting and foam side is face down. Wrap batting around to the back of the board and staple into place.
 9. Cover the buttons with your fabric and follow the instructions to make them on your kit.


